
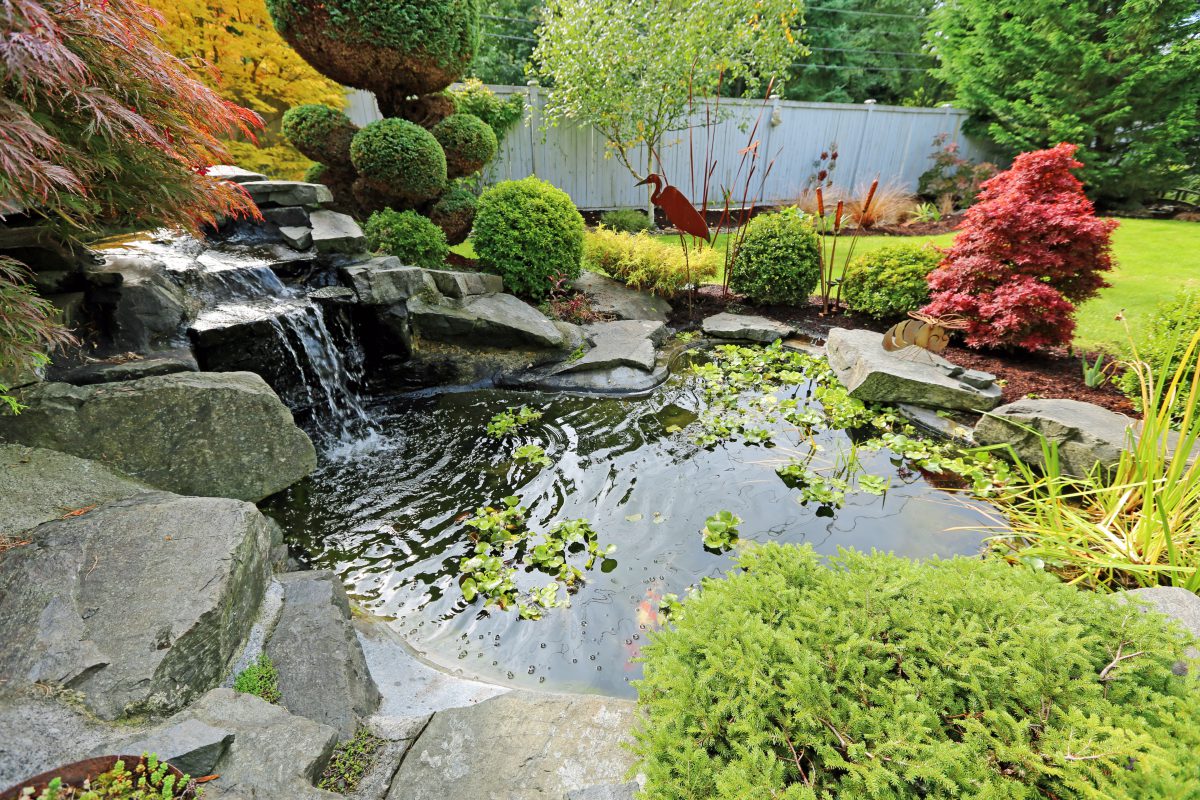
If you’ve tried all the quick and easy fixes for your leaking pond or waterfall, there are other things to fix the issue and get your pond running like new, including pond shutdowns, skimmer checks, and “the pipe test.”
 Start with a pond shutdown
For a total shutdown of your pond, turn off the pump for 12 or more hours. After 12+ hours, return to the pond and see if the water level has dropped. If the water level has dropped, then there’s a leak in the pond. If the water level remains the same, then the leak is in the stream.
If the leak is in the pond, wait for the water level to stop dropping. This may take a few hours to a few days, but will help determine the height of the leak. Concentrate your efforts on looking for the leak in the pond, not the waterfalls/stream. A lot of this could have to do with the skimmer.
Is the leak in the skimmer?
If the water level as stopped below the bottom of the skimmer faceplate, you can rule out the skimmer and concentrate elsewhere. But if the water level is above the bottom of the faceplate, you should investigate the skimmer (but don’t tear it apart!).
If the leak is in the skimmer, simply move a few rocks around the front of the skimmer and slide your hand behind the liner. If the soil is saturated, then the faceplate may have not been installed correctly—and might be the source of the leak. Remove the faceplate, clean all of the old silicone off the liner and refer back to the instruction manual on how to seal the skimmer faceplate to the skimmer.
 Is the leak in the liner?
If the soil around the opening is dry, it’s most likely not the skimmer. If it isn’t the skimmer, investigate the liner for small punctures around the perimeter. Unfortunately, the best way to find this type of leak is to move rocks and gravel and search for the leak by hand. The leak once found can easily be fixed using Aquascape EDPM Patch Tape.
Leaks in waterfalls and streams
If the water level has not dropped over the last 12 hours, the leak is likely in the waterfalls or stream. To start, do a shut down procedure. Turn the pump back on and get the waterfall flowing again. Double check that all of the edges are high and any stream liner overlaps or liner seams are done correctly. Then check to make sure the seal on the lip of the Biofalls Filter was installed correctly and it’s watertight.
Don’t tear the Biofalls Filter lip. You can investigate the lip by moving a few rocks around the side and/or removing some soil from the side of the filter, allowing you to slide your hand behind the liner letting you feel for wet soil around the Biofalls Filter. If it’s dry, it’s most likely not the seal on the Biofalls Filter. If the soil is saturated, or you feel water leaking, then the lip needs to be resealed.
Perform the “pipe test” to determine stream leak locations
If it’s a leak in a long stream, you’ll want to narrow the spot down by performing the pipe test. It will take a few days to determine the location of the leak. The pipe test used a section of pipe laid on the ground. The pipe is connected to the pump in the skimmer. The pump is turned on and the end of the pipe is then set at the lowest point in the stream. If the water level hasn’t dropped, move the pipe 10 feet further up the stream. Do this until you notice the water drop in the pond. Once the water drops, the leak can be found within 10 feet of the pipe. Move the rocks and gravel to search for the leak by hand.
Still having problems?
Head to your nearest Ewing location for friendly service and expert advice.

