You spent the season looking at your turf thinking, “Soon, very soon,” and that time is here. You were able to stave off those urges to seed too early and now the time is close. Hopefully by now, all of the land prep (grading and drainage) has been completed and your irrigation is ready for the next few steps: the actual seeding process.
Now is the time to begin weed control. I prefer glyphosate, even if it is only a partial renovation. Using a product pre-mixed with diquat (QuikPRO) will yield more rapid results visually so you can see if regrowth is a problem earlier. Applying these products with a spray dye indicator or colorant will also reduce skips.
It's a good idea to give yourself two weeks for sequential applications. Some weeds including bentgrasses, sedges, K31 tall fescue, escaped zoysiagrass, and Bermuda grass can be exceptionally difficult to control in one application. There may be other factors at play, for example, it is best to see if some perennial weeds will regrow from underground structures.
Additionally, allow time for full translocation to plant roots, keeping in mind the label states it takes seven days. Giving the chemistry time to get through those underground structures before severing them with slit seeders or aeration tines will greatly reduce their potential for regrowth. Check those areas one last time for anything green about seven to 10 days after the first application, and that should be all you need.
With soil test results in hand, you can determine the need for and/or how much lime to apply. Once this is complete, you can begin.
Seeding
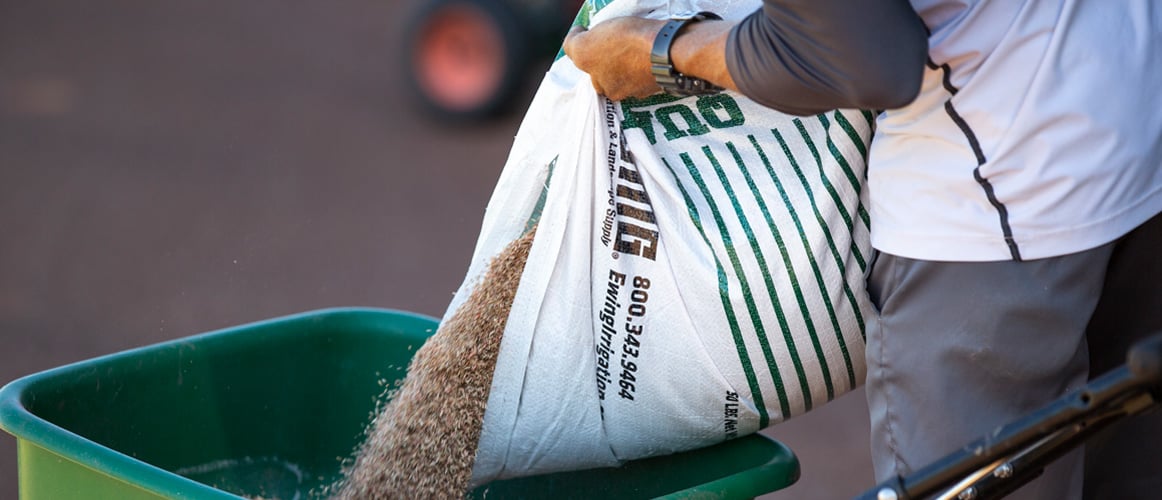
It is extremely important to spread seed at the recommended rate. Light applications will leave you with spotty, thin turf coverage, while heavy rates can result in weak, spindly turf plants unable to fully mature and withstand environmental stresses.
Seed Sowing
As mentioned before, seed to soil contact is crucial so incorporation into 1/8 to 1/4 of soil is key. If you are not using a piece of equipment to do so, then topdressing with soil or compost and lightly raking with the back of a leaf rake will achieve your goals.
Fertility
As mentioned in the prior blog on getting started with turf renovation, phosphorus is used to a greater degree during establishment. It will assist in germination and development of an extensive root system. Many states have bans or restrictions so check with your local extension to see if and when you can apply phosphorus. It is often the case that even restricted states will allow the application if you are reseeding or if the soil test shows a deficiency.
Irrigation
Water, water, water! Newly seeded and sodded turf both need more water and on a more consistent basis.
As a rule of thumb, established lawns should be watered deeply and infrequently, whereas fresh seed should be kept damp throughout the day. Irrigation cycles should start as short and frequent–in some cases as many as three to five cycles per day. This will ensure the seedbed stays damp. As seedlings reach two inches, gradually reduce the frequency and revert back to a deeper irrigation pattern.
It is important to make sure that you are not over-irrigating. Excessively wet soils can lead to seed rot or catastrophic disease. Sod should also be kept damp. Your strategy should initially include watering heavier, up to one inch, then lighter cycles once to twice per day until it begins to tack down.
Feel free to contact the Ewing Technical Services Team with questions. Learn more about starting and finalizing a turf renovation with these articles:


