
As winter rolls out and spring arrives throughout the country, drip irrigation systems will soon be back up and running. Due to age, burrowing animals or a simple gardening mistake, you’ll likely find a leak in the drip’s polyethylene tubing.
The good news is, drip tubing is easy to repair. Here are three easy steps to follow.
- Get the right products
You’ll first need to check to see the size of the poly currently in the ground. Most manufacturers print the size on the outside of the tubing, so this should be easy to find.
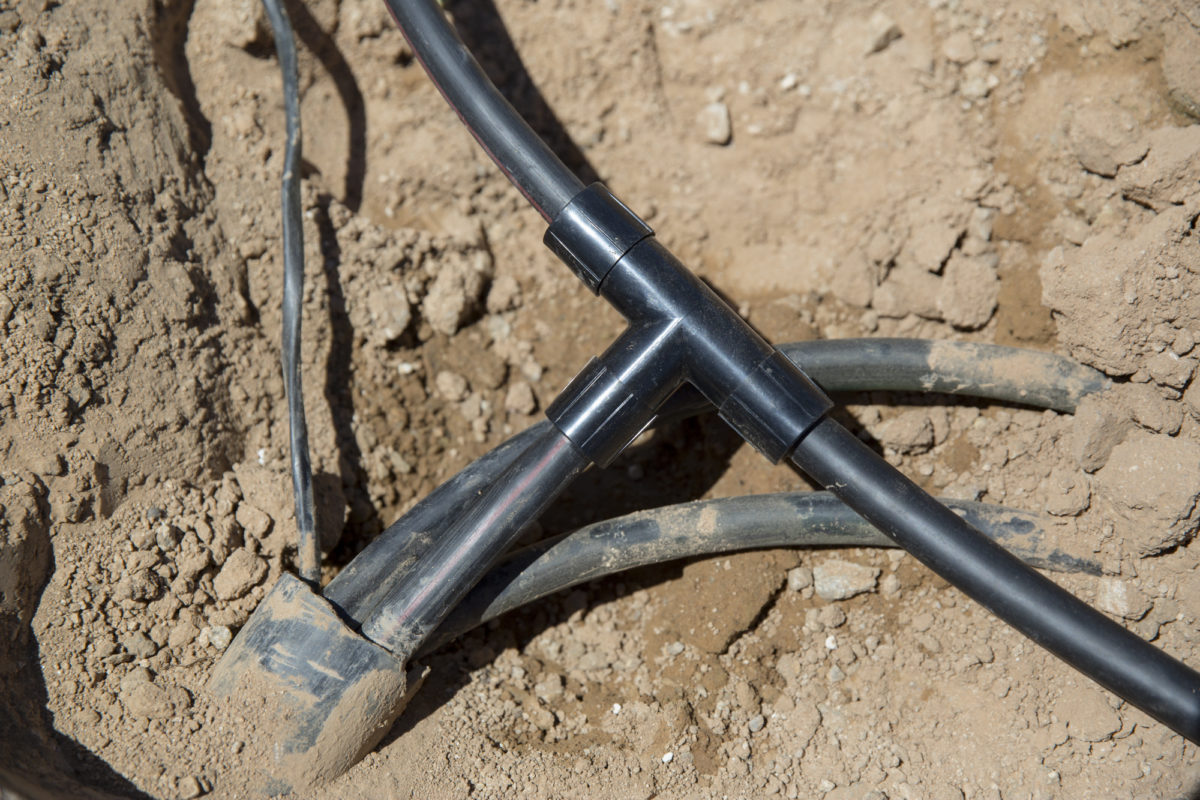
Once you’ve determined the size you will need, you can purchase a new roll of poly tubing and the fittings you will need. You’ll want to purchase one of two types for a poly repair: a barbed insert coupling, which a goes inside the tubing or a compression coupling, which connects on the outside.
You will also need a pipe cutter and a shovel.
- Prepare the site
Once you have the repair parts, you can start.
Dig a foot in width on both side of the pipe to give yourself plenty of room to work.
- Make the repair
Next, cut out the section of pipe in need of repair with your pipe cutters. Be sure to make your cuts as straight as possible to ensure a tight fit with the replacement pipe. Once you’ve cut out the piece of pipe you need to replace, use it as a guide to cut out the same length on the new pipe.
Then, attach or insert the fitting to each side of the tubing. Connect the new section of tubing to the pipe in the ground. Finally, test the repair for leaks before filling in the dirt surrounding the tubing.
For more step-by-step instructions on how to repair drip irrigation tubing, watch this Ewing YouTube video.
https://www.youtube.com/watch?v=gSdfXXrU28Y&t=1s

