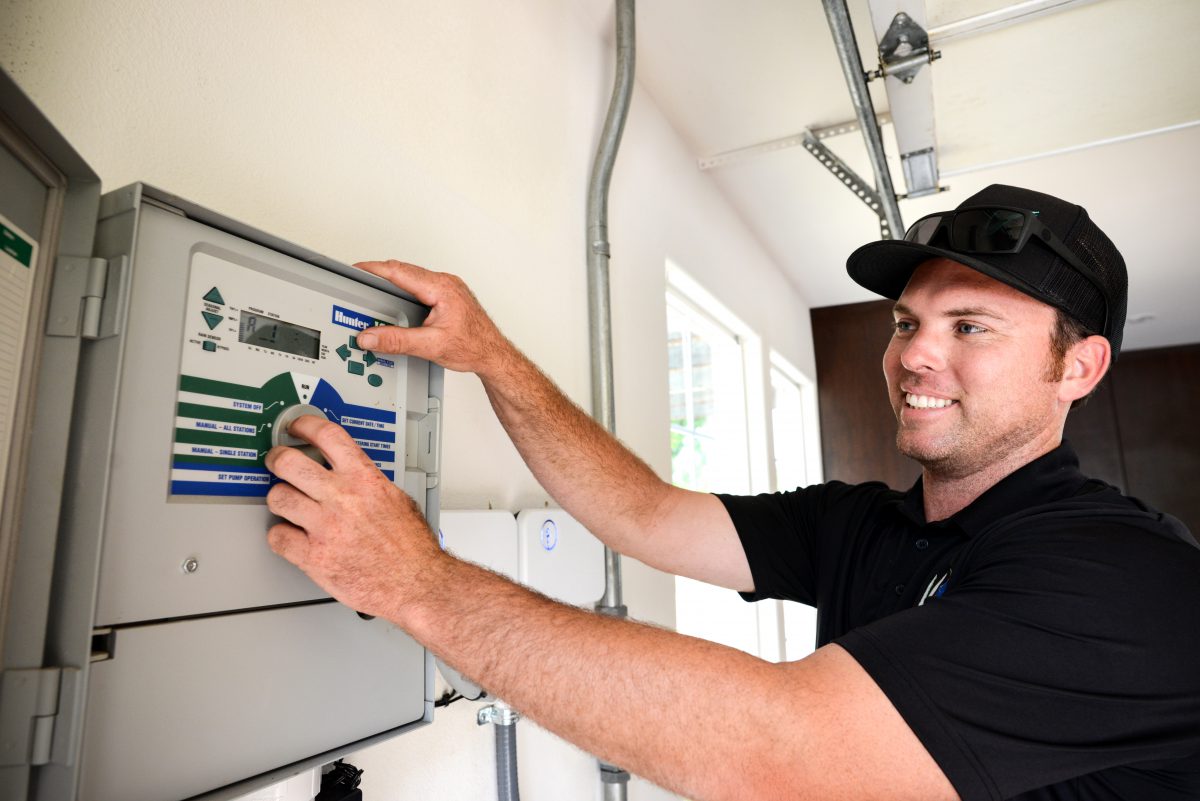
Replacing a sprinkler system controller can be tricky, but these four steps can help you easily replace an outdated controller with a more modern Wi-Fi enabled controller.
Step 1: Determine site details
Before you purchase a new controller, determine if you will need an indoor or outdoor controller model. Indoor controllers typically come with a dedicated power cord and can plug directly into a common wall outlet, while outdoor controllers are hard wired.
You will also need to know how many stations exist for the system. Check the controller’s current valve terminals to see how many are being used. Most residential systems use four to 12 stations, so be sure to purchase a controller that can accommodate and current and future needs.
If you need to replace the valve wires, label the wires so you’ll know which valve connects to which wire and make a note of the current irrigation schedule to help you program it once the controller is installed.
Pro tip: Take a photo of the current controller’s station wires to help you connect the new controller later.
Step 2: Remove the old controller
Before removing the previous system controller, make sure to turn off the power to avoid injury or fire damage.
Remove the controller’s power source from the transformer and detach the conduit that houses the connection wires. Any wires connected to the controller can now be safely detached. Next, remove the mounting screws to release the controller from the hanger.
Step 3: Install the new controller
Once you have the new controller in place, run the valve wires up through the port at the bottom of the controller box. If you’re replacing an outdoor controller, remember to protect the wires with a ¾ to 1-inch conduit or PVC pipe.
Secure the pipe to the controller box with a male-adaptor and a locking nut.
Next, connect the valves and sensor wire to the power supply. Run the wires through the bottom of the cabinet and secure them in place with a locking nut. Then, connect the ground wire from the power supply to the corresponding ground wire on the transformer, do this for the neutral wire and the 120V wire as well.
Pro tip: Remember, if you’re replacing an old controller with a Wi-Fi enabled controller, it will need to be mounted within range of the Wi-Fi network.
Step 4: Program the controller
Once you have the new controller up and running, manually test each station to ensure the valves are connected and working properly. Then, program the irrigation schedule using the manufacturer’s manual.
For more information on how to replace a sprinkler system controller, check out this Ewing video.
What are your pro tips for replacing an irrigation controller? Let us know in the comments below.


