When it comes to breaks in a system, it can be challenging to find the exact location of the problem. With a wire and valve locator tool you can easily find the broken or damaged issue and spend more time repairing it, rather than searching for it.
Depending on your jobsite’s specific needs, there are a variety of locator tools you can choose from.
If you haven’t used a wire and valve locator tool before, here’s how:
This will allow the electrical current from the clock to pulse throughout the wire and valve locator tool. Many wire and valve locator kits come with the spike needed for this.
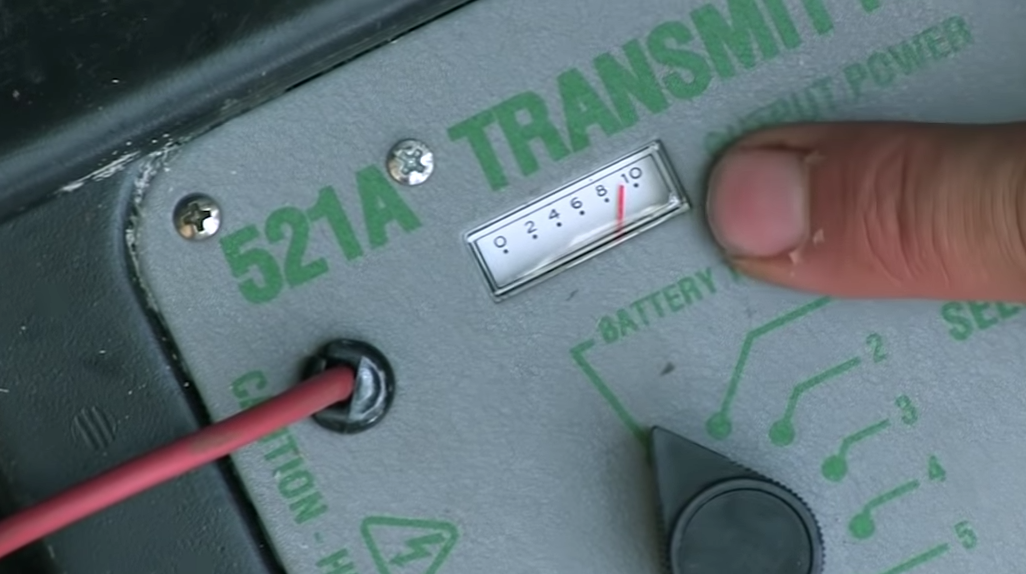
Next simply turn the tool on and test the battery system and set the output intensity. According to the manufacturer, your wire and valve locator’s batter should be above 8—you’ll see this on the gauge above the dial. If your battery is powered correctly, move on to the tool’s output intensity. Again, the manufacturer suggests the output be between 4 and 8.
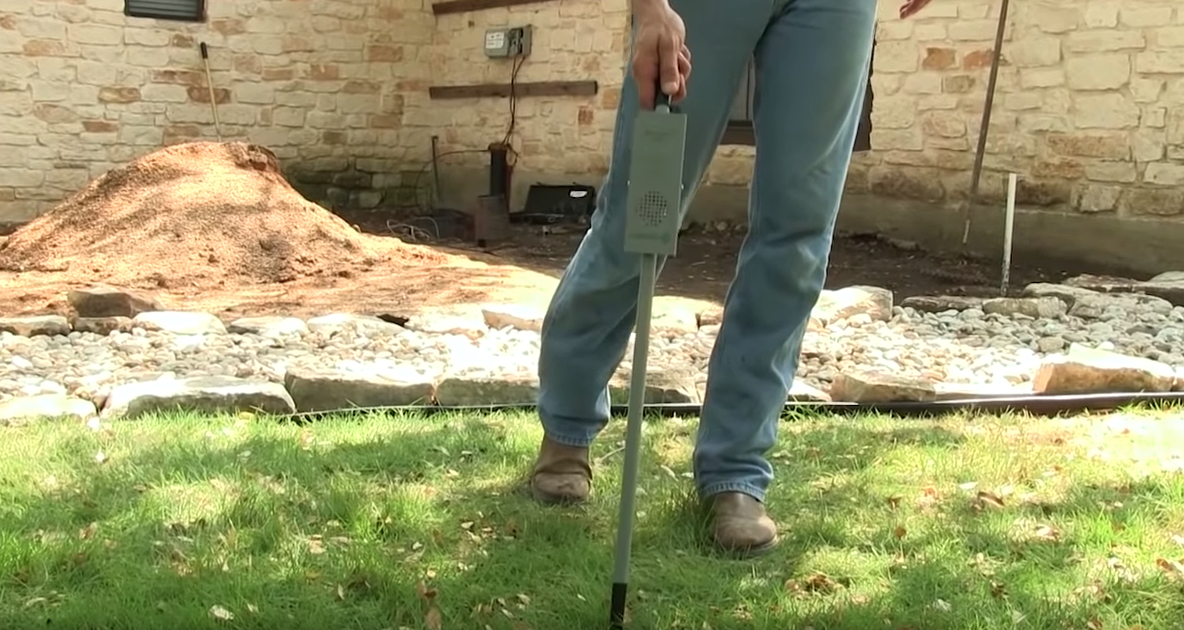
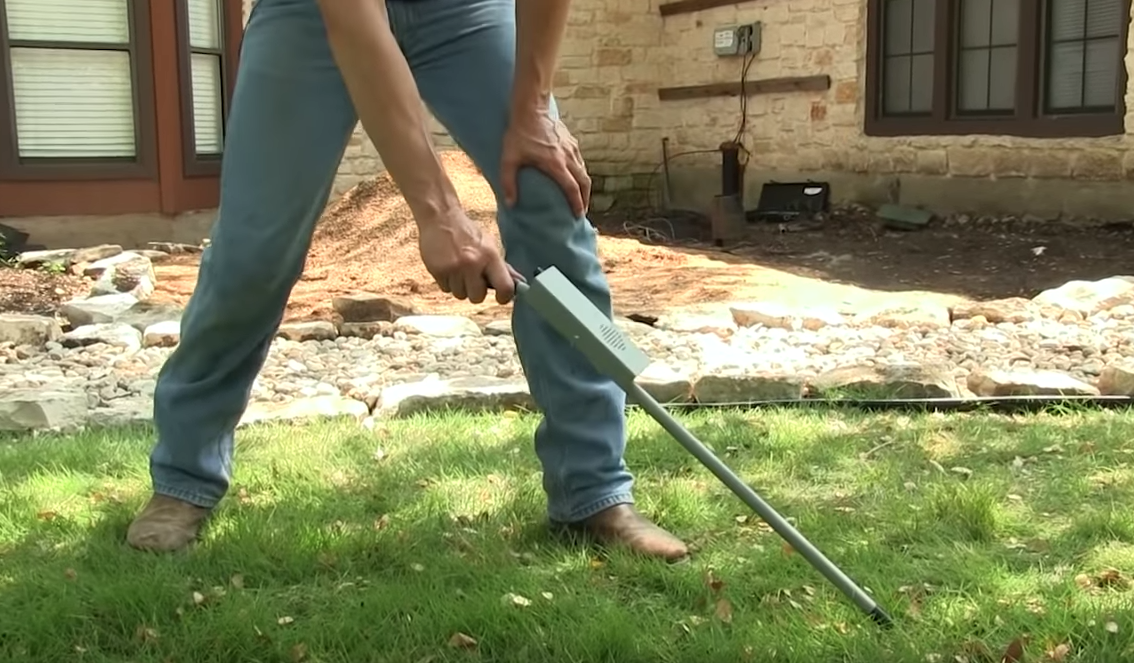
Once you’ve set up your tool, you can search for the wire by waving the end of the locator receiver just above the ground. When you’re directly above the wire, the locator tool will emit a null and the gauge will indicate you are above it. Check the manufacturer information for exact instructions and specifications.
Wire and valve locator tools are simple to use, save time and labor in the field. For step by step instructions on how a wire locator tool, you can also watch this Ewing video:
https://www.youtube.com/watch?v=kD_m04tQjDU#action=share