Would you answer “yes” to any of these questions?
If you answered “yes,” we’ll outline the steps to help you get a bunker liner installed and improve your bunker conditions. In this first article in a DIY series, we’ll go over the steps to improve your bunker conditions using Capillary Bunker.
Capillary Bunker helps with moisture control and decreases the risk of plugged lies and washouts in your bunkers. Capillary Bunker also aids in the prevention of soil contamination and provides ideal playing conditions.
Here are the steps for an in-house bunker liner installation using Capillary Bunker. Please contact me or your Ewing representative with any questions or to assist you with the process.
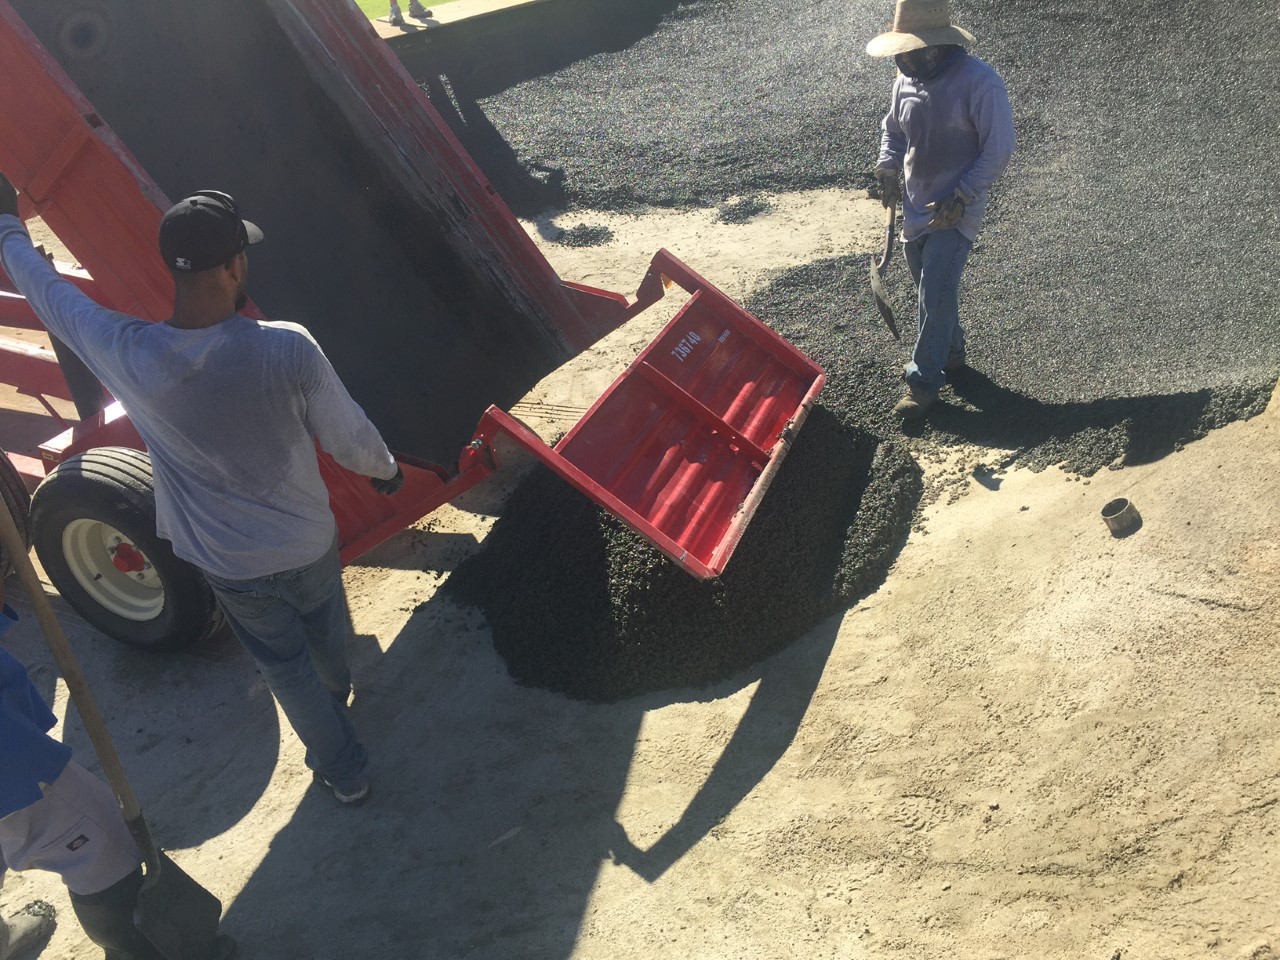
Step 1:
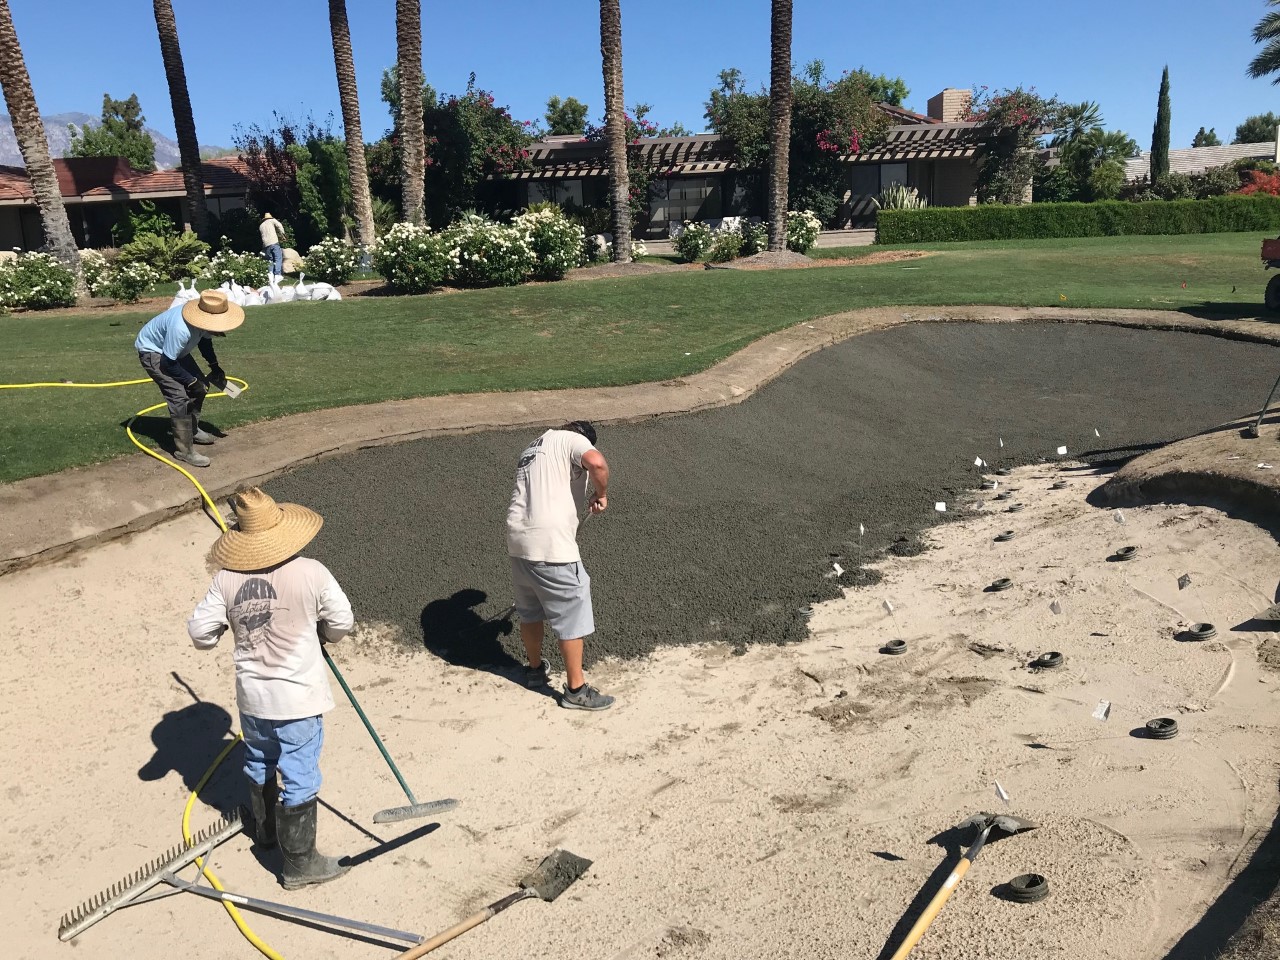
Step 2:
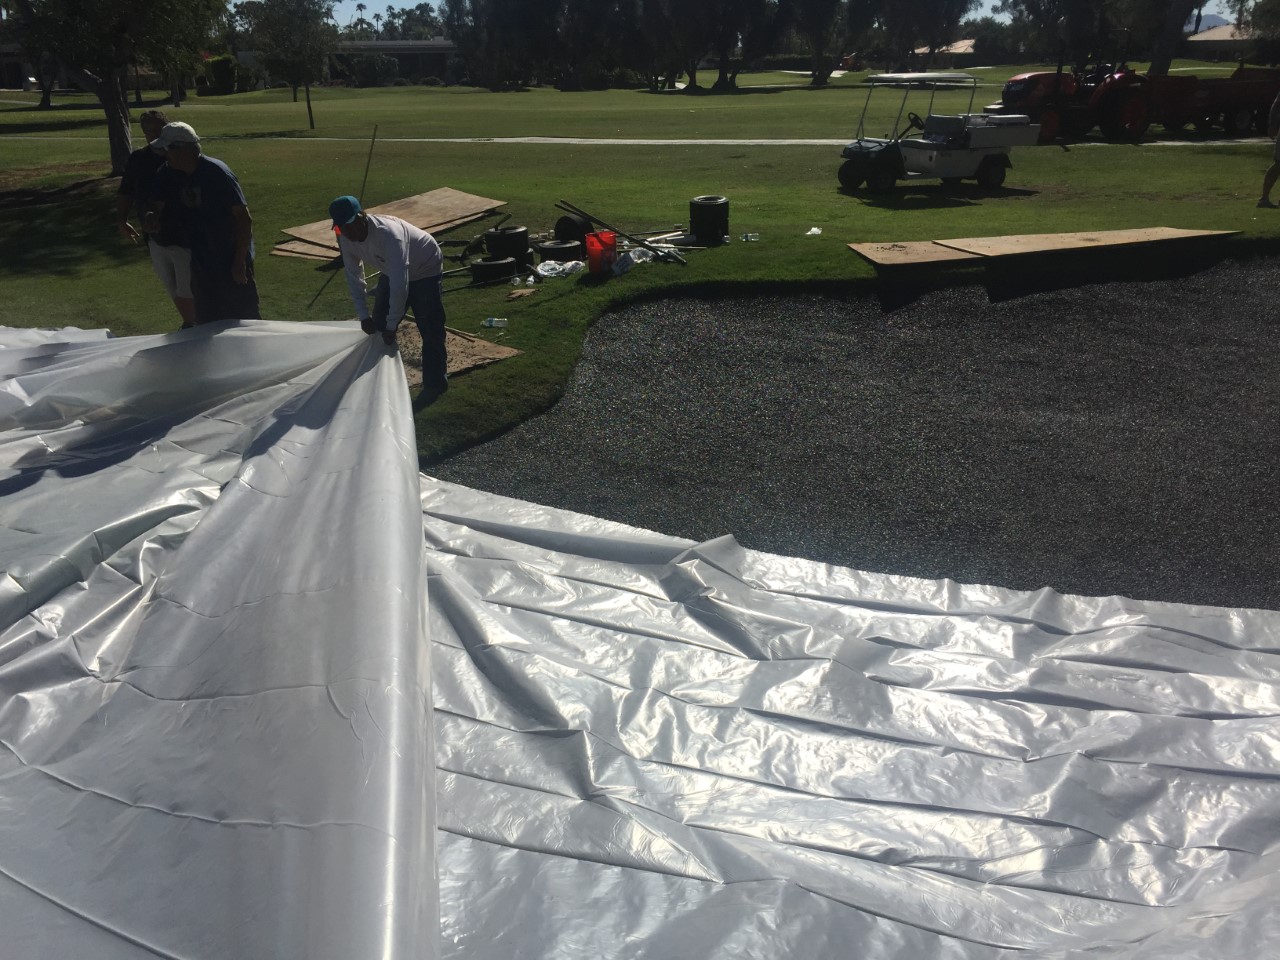
Step 3:
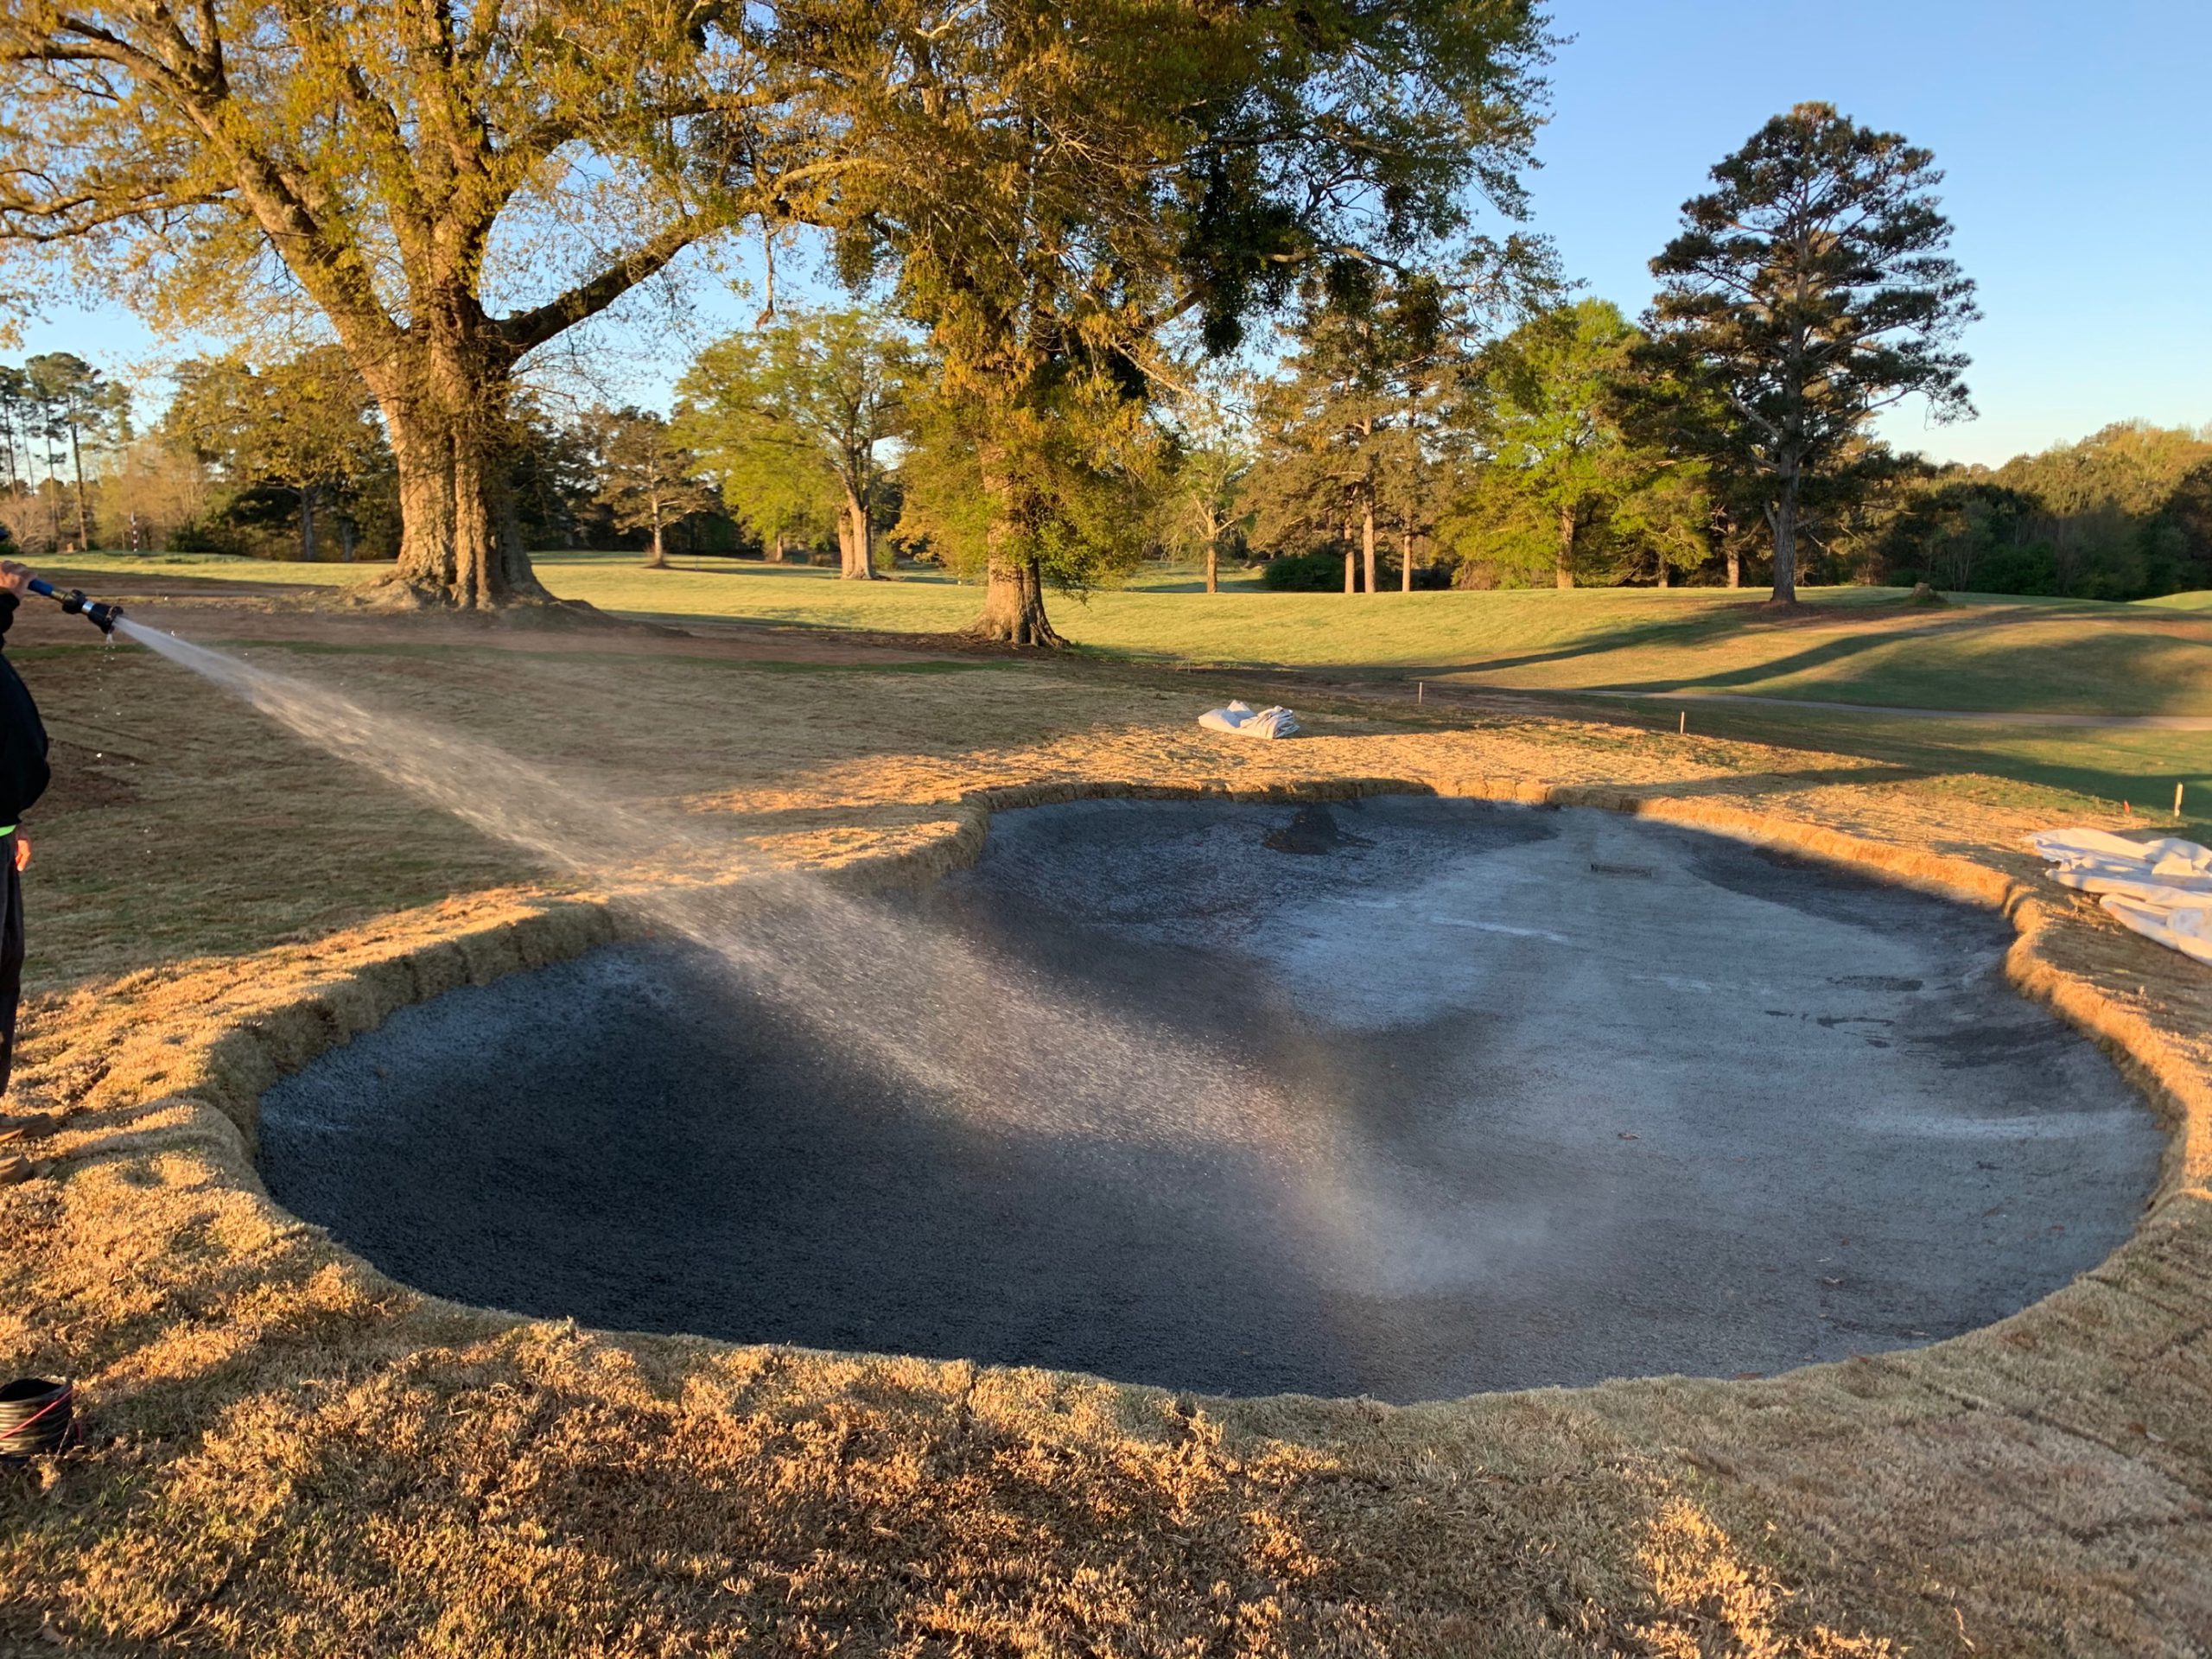
Step 4:
Step 5:
Step 6:
Step 7:
Step 8:
Step 9:
For more information about why bunkers washout in the first place, visit the United States Golf Association’s (USGA) website here.