Installing a putting green is not as easy as it looks, but these four helpful tips will keep your project on par.
1. Wrap Your Golf Cup in Plastic
This may sound silly, but applying this step can save you a lot of work later in your putting green installation project. When creating the cement holes for your putting green, wrap the golf cup in plastic, (try using strips cut from a garbage bag). This will give you more flexibility to adjust the golf cup after the cement around it has set and you have placed your turf.
Take care not to wrap the plastic too tight around the cup, as you may not be able to slide the cup out of the plastic sleeve once the cement has dried.
You also want to make sure you don’t wrap the plastic too loose because cement can seep in making it impossible to adjust your cup after the cement has dried.
2. Avoid Upsetting the Cement Foundation
Despite tip number one, there is still a risk of upsetting the concrete around the cup when you remove the cup.
To prevent unnecessary risk of disrupting the cement after laying your turf down, simply step on either side of the hole when you pull the golf cup out/re-adjust it.
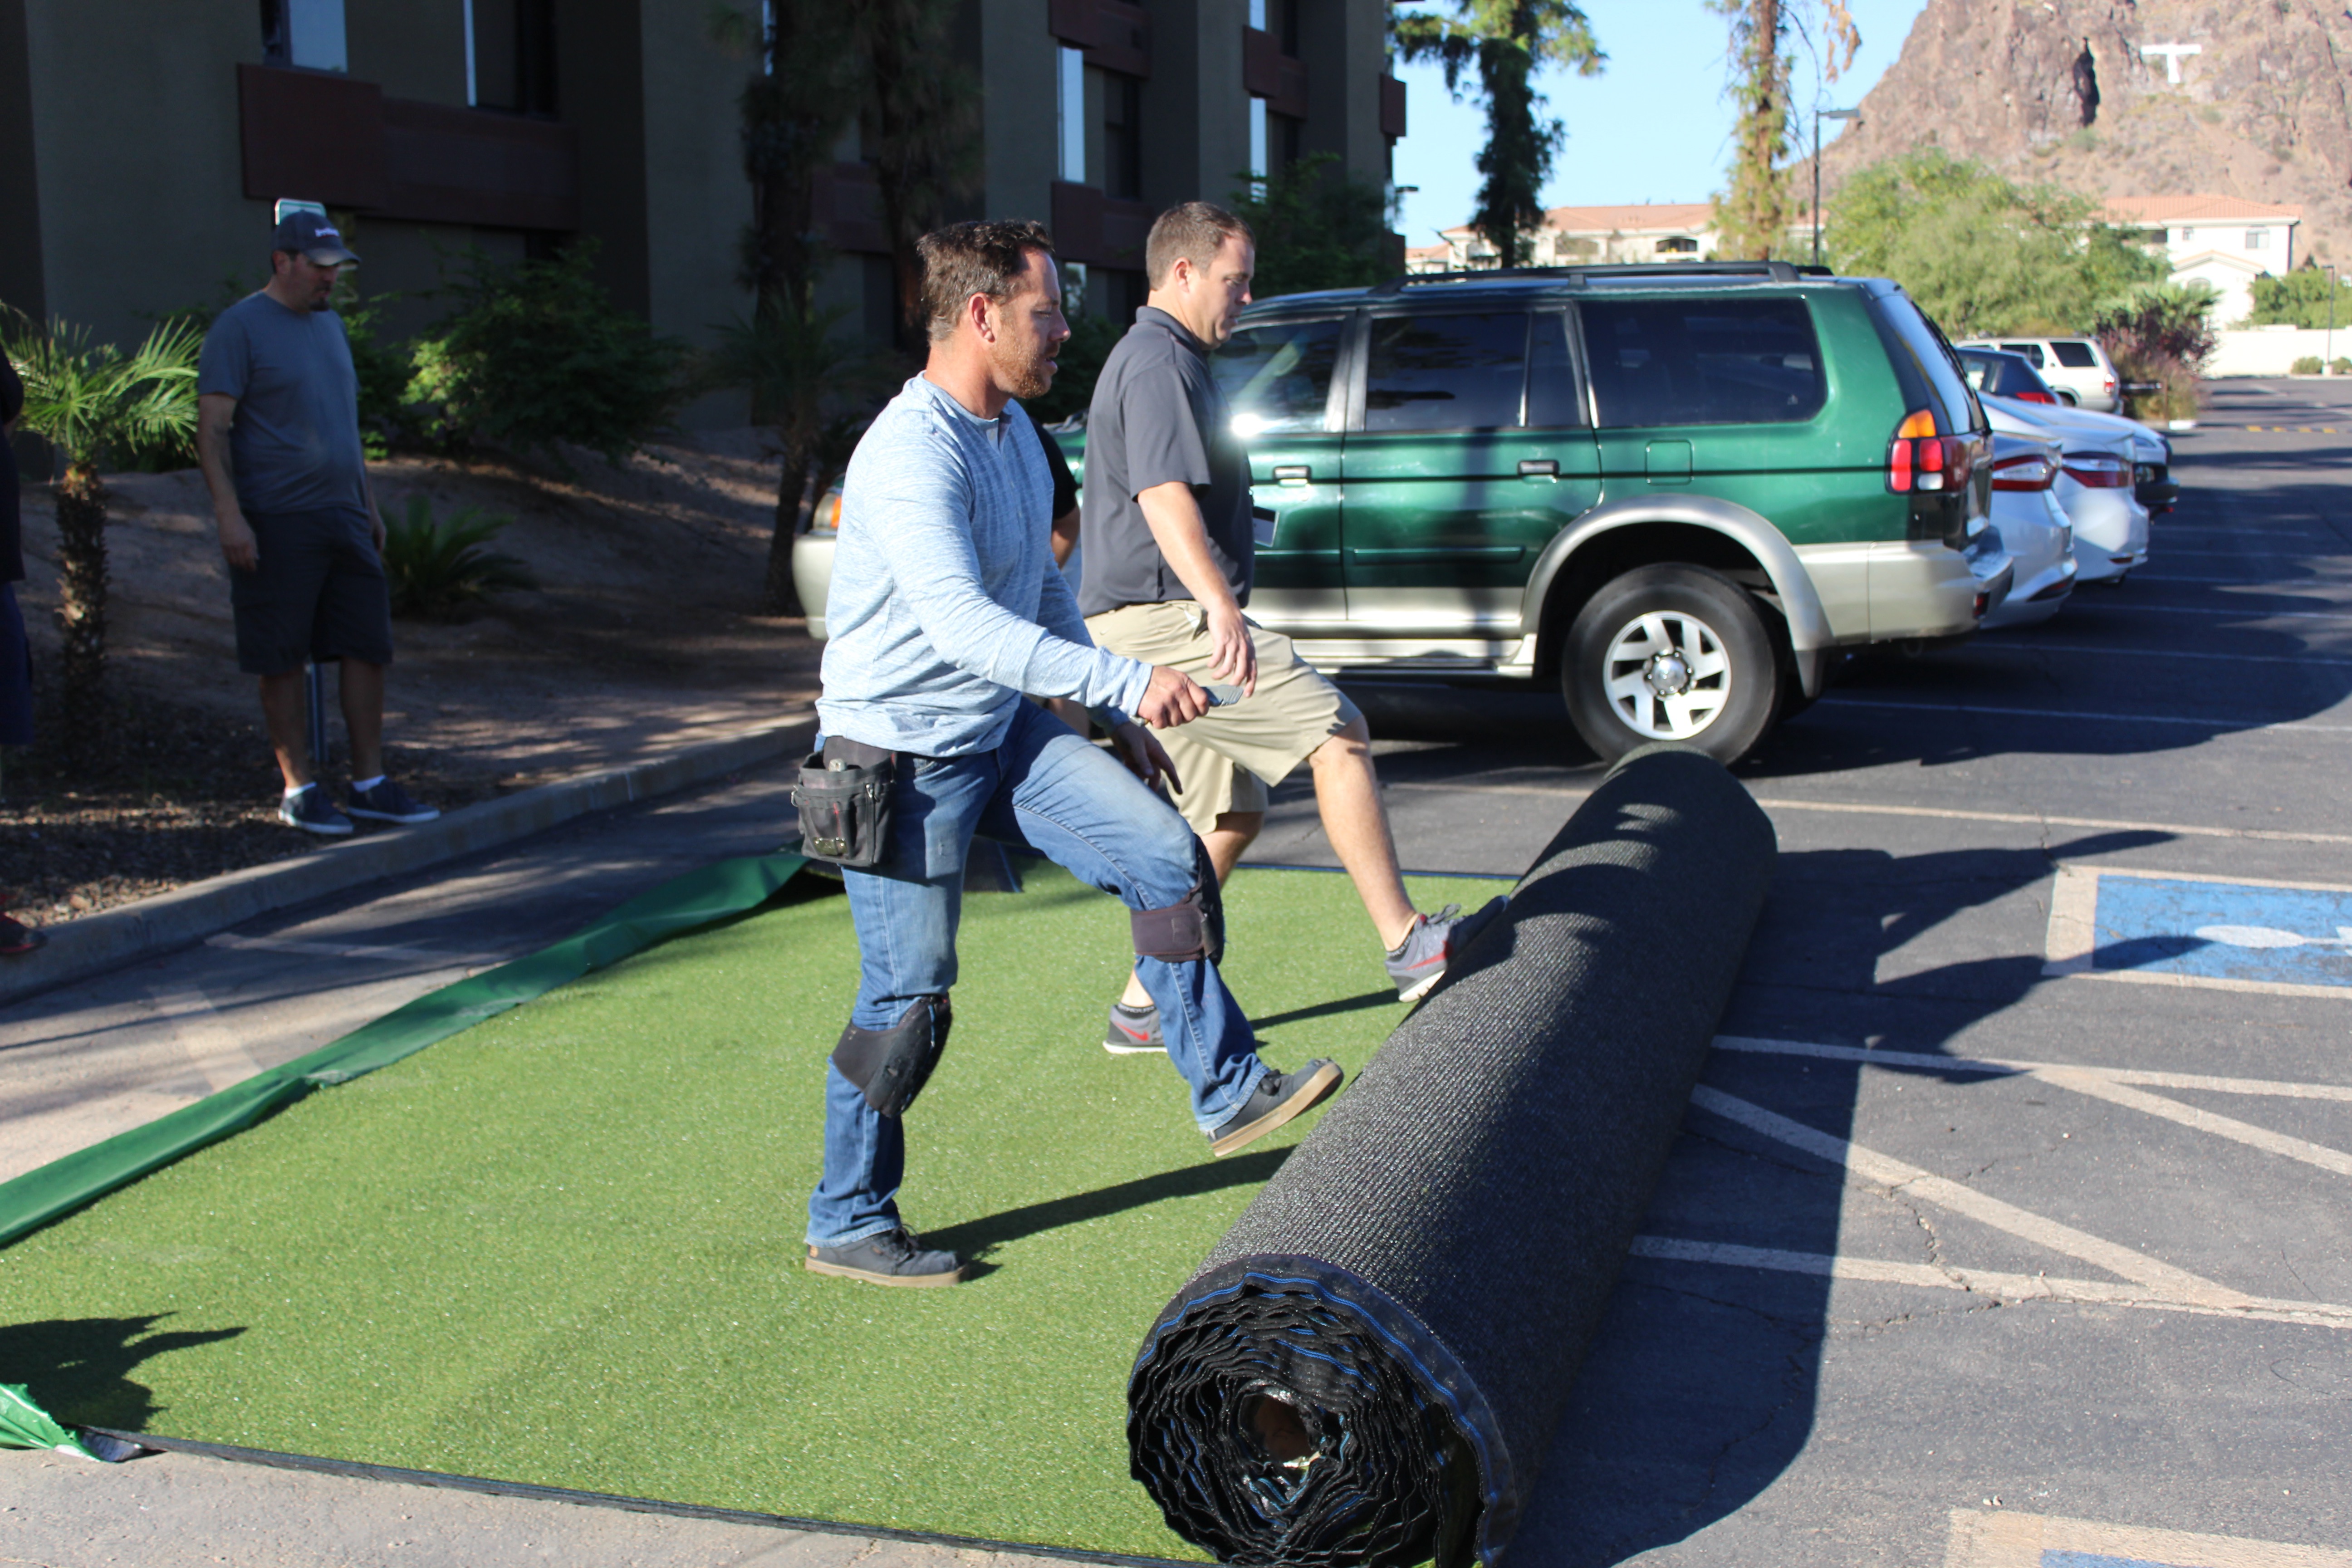
3. Let Your Turf Relax in the Sun Before You Install It
It is critical that you let your turf lay out in the sun before you install it on site. Although times may vary according to the temperature outside, four hours is a safe amount of time to allow turf to relax and expand.
Why apply this time consuming step? “The turf expands and relaxes more when the sun is out,” said Tim Little, a Ewing Residential and Commercial Sales Specialist who first began working with putting greens in 1980.
“The turf has to be completely flat before installation,” he explained. Coupled with the normal process of stretching the turf, applying this extra step will greatly reduce your green’s risk of developing post-installation wrinkles.
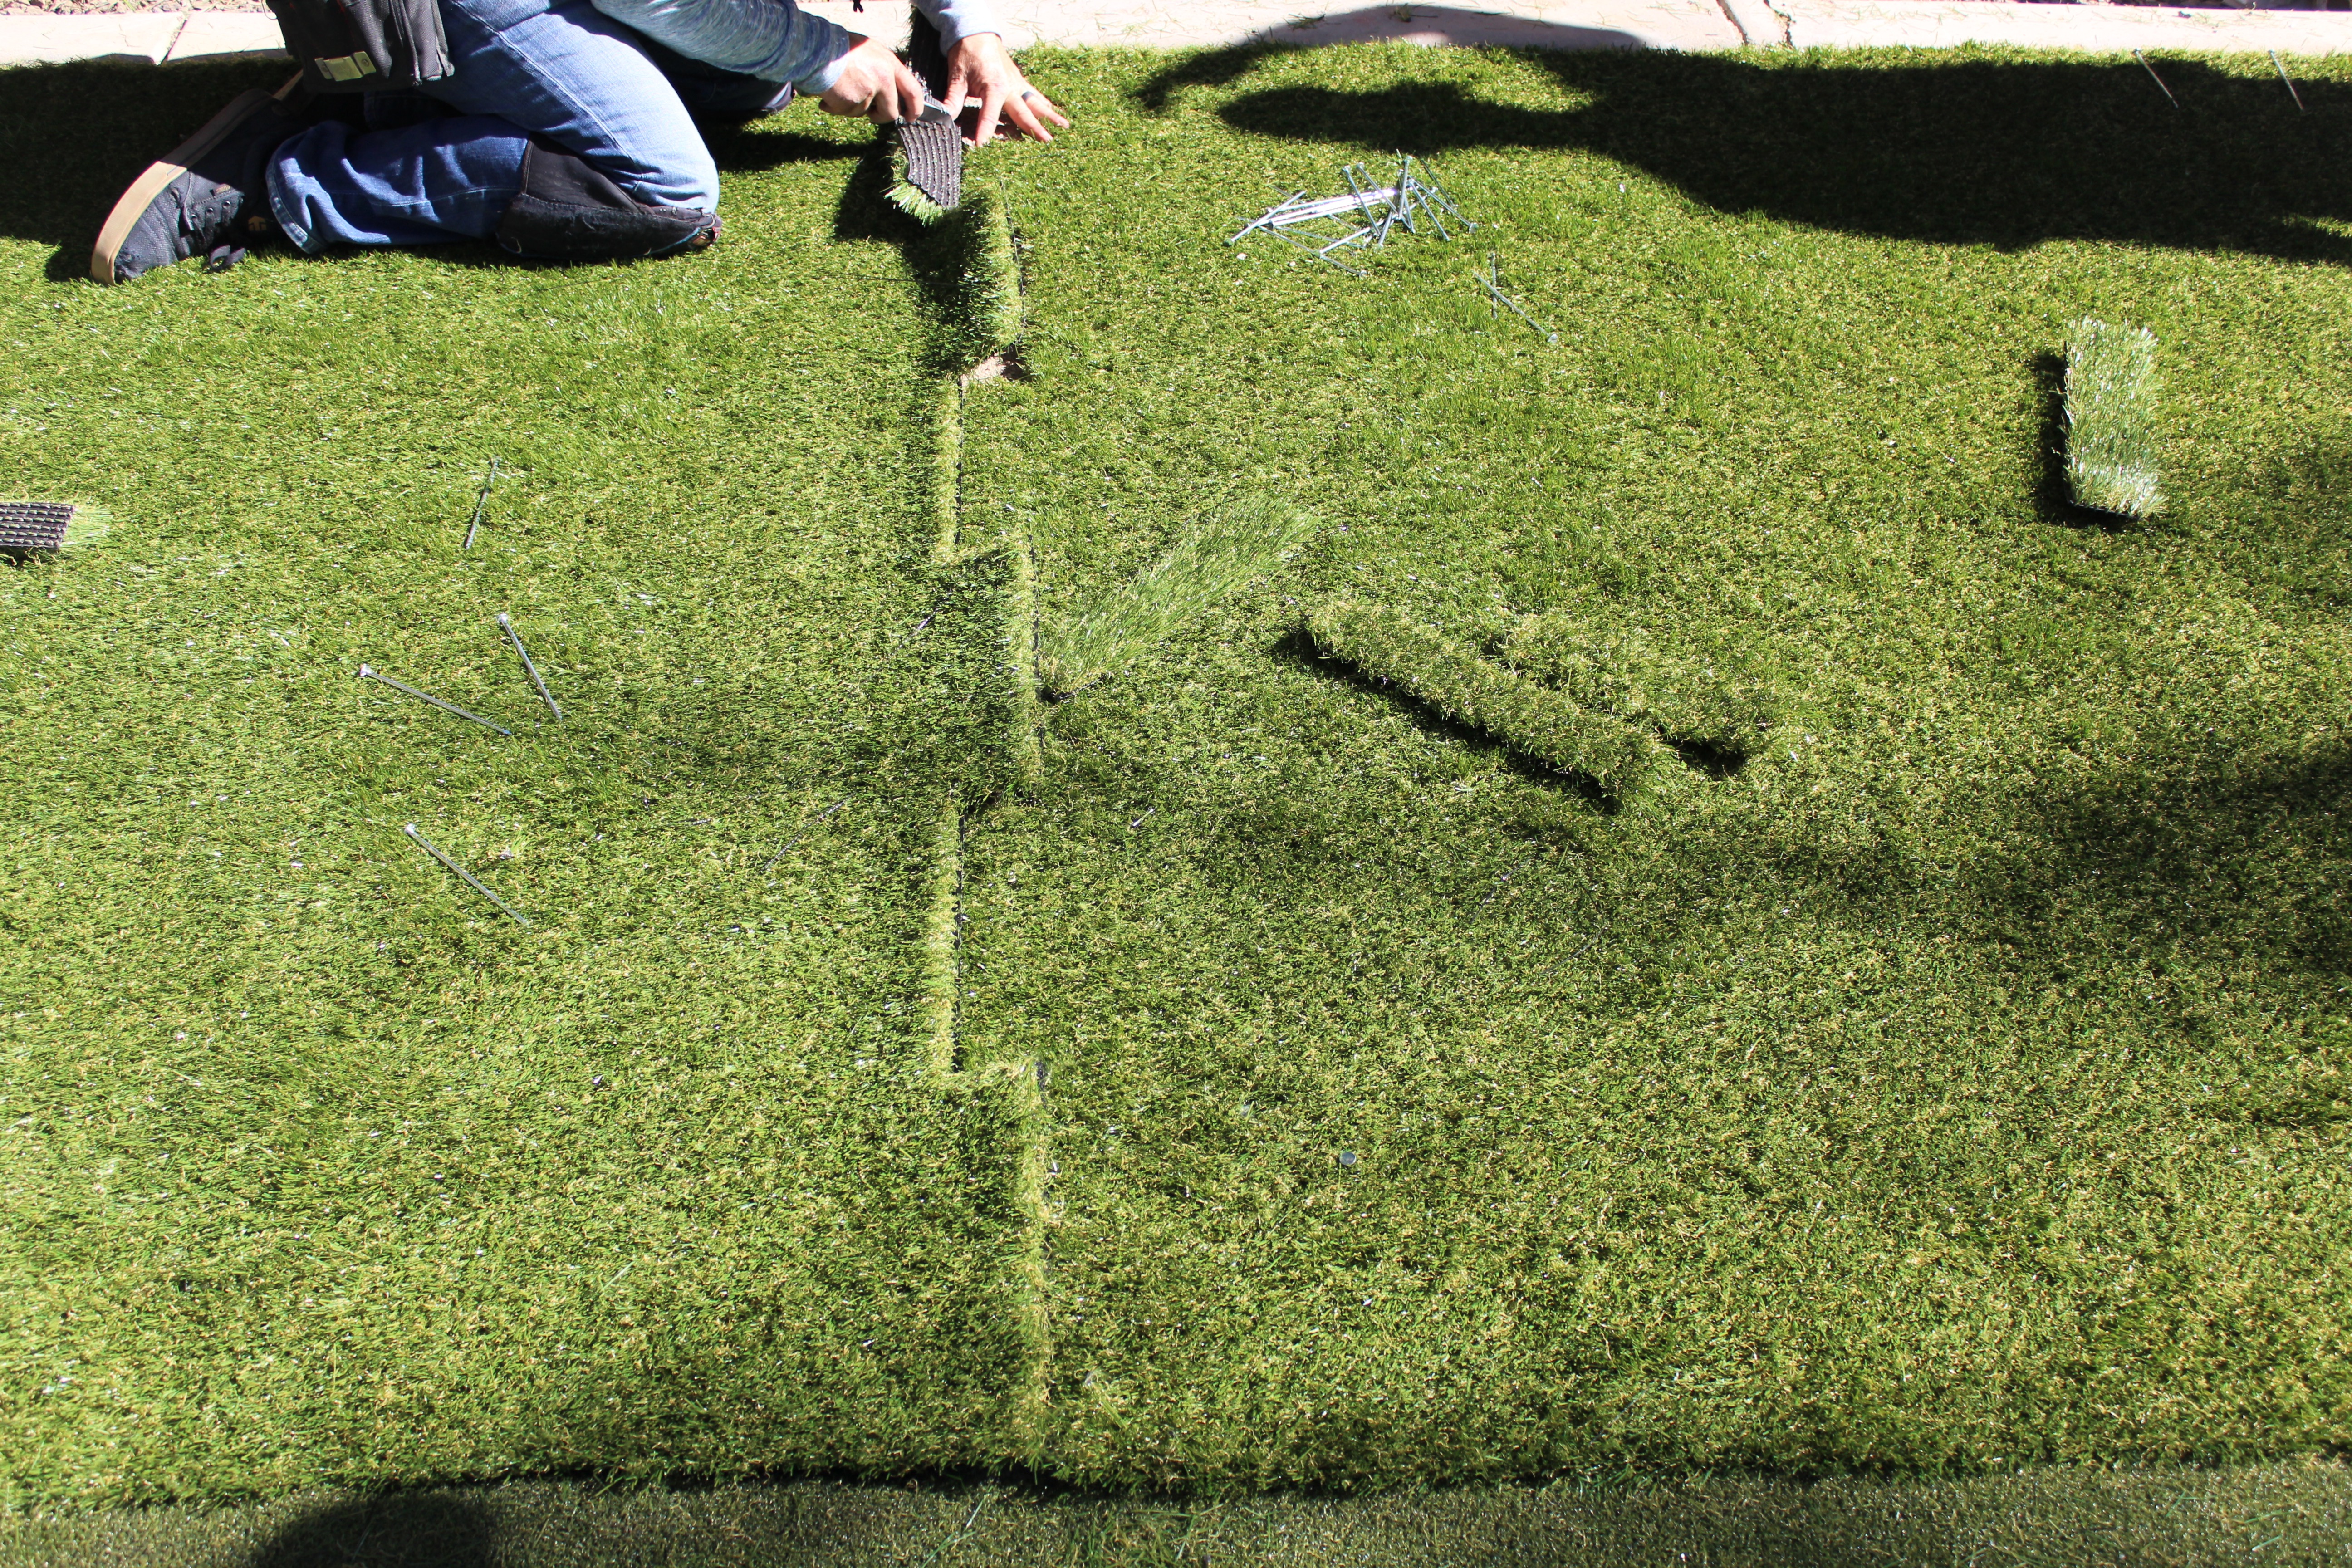
4. Try the Tooth Seaming Method on Your Fringe
Head seams and uneven seams are undesirable to work with, but every artificial turf installer will encounter them at some point in time. “If you do get in those situations, it is a great method to hide a seam,” said Little.
By cutting your seam in a tooth pattern (pictured right) you can trick the eye into thinking the fringe turf around your green is one piece.
After you have cut the pattern, nail the interlocking pieces in place and fluff the turf around it. The results are amazing! Jack Smith of Jack Smith Consulting, who taught the class, said, “This is my favorite because it creates a seamless project when done properly.”
Use caution not to use too many nails, which can affect the finished look.
Ready to install a putting green using these tips? Stop by your local Ewing store where our knowledgeable associates can help you find the right artificial turf and tools for a successful installation.